After heading out of Montana and towards the Seattle Metropolitan Area, I took a quick two-night stop in Spokane, the second most populous city in Washington, just barely ahead of Tacoma. I honestly didn’t really expect much out of Spokane, and I booked a stay simply because of its convenient location between Missoula and Seattle, but I actually thought it was one of the more pleasant cities I’ve visited so far.
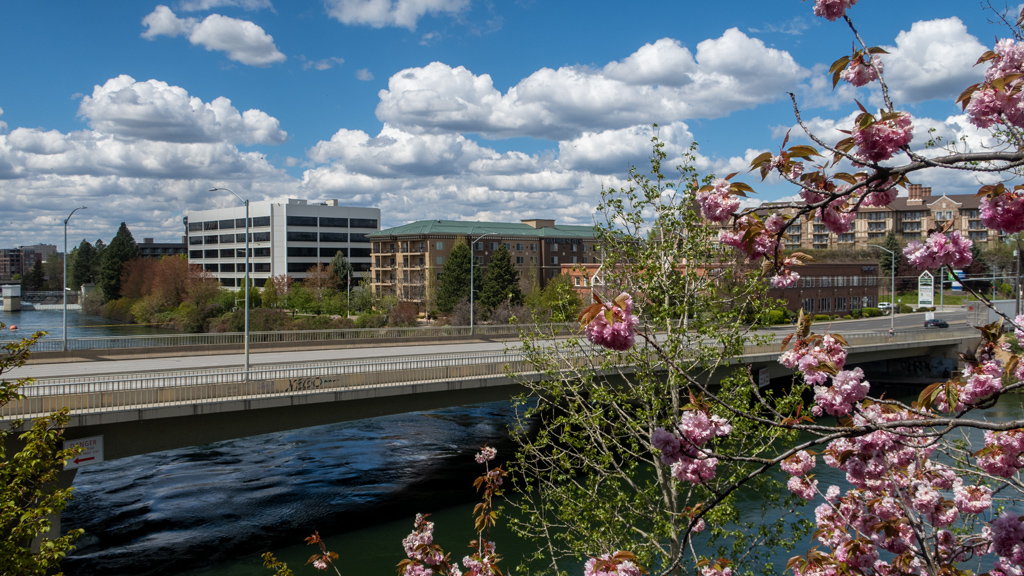
My hotel of choice was the Courtyard by Marriott Spokane Downtown at the Convention Center, a slightly older hotel in terms of décor, but still very well-maintained with great staff and an amazing location. I got an upgrade, presumably due to my Bonvoy elite status, which got me a nice view of the Spokane River and a nearby tree with blossoming pink flowers.
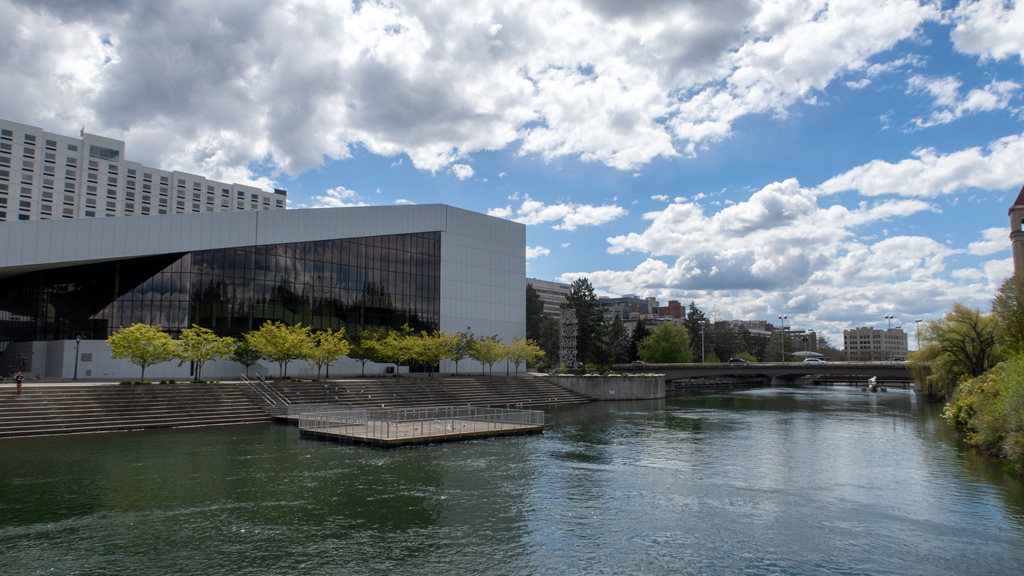
Long story short, I think downtown Spokane does downtown the right way. It definitely feels like a downtown area, but it’s not too congested, and I think it is the most welcoming “downtown” I have ever been to.
When I lived in Las Vegas, I lived on the Strip, which is sort of like the “second downtown,” but the City of Las Vegas was working on improving the “original downtown” to be a lot nicer. I feel like Spokane and Las Vegas have similar goals for what they want their downtowns to look like, but Spokane already finished development, and they did pretty much everything the right way. Las Vegas obviously can’t have a river slicing through the city, but if downtown Las Vegas ended up resembling Spokane, I would be very happy and very willing to live there (as opposed to the Strip).
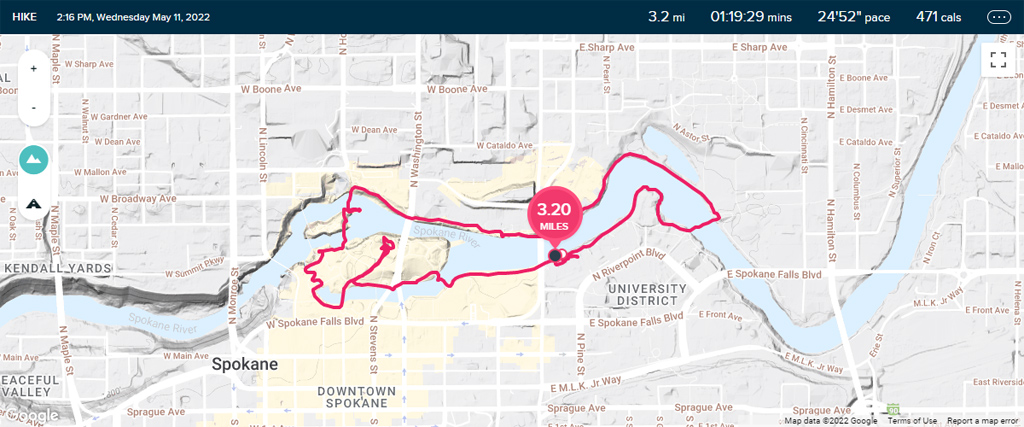
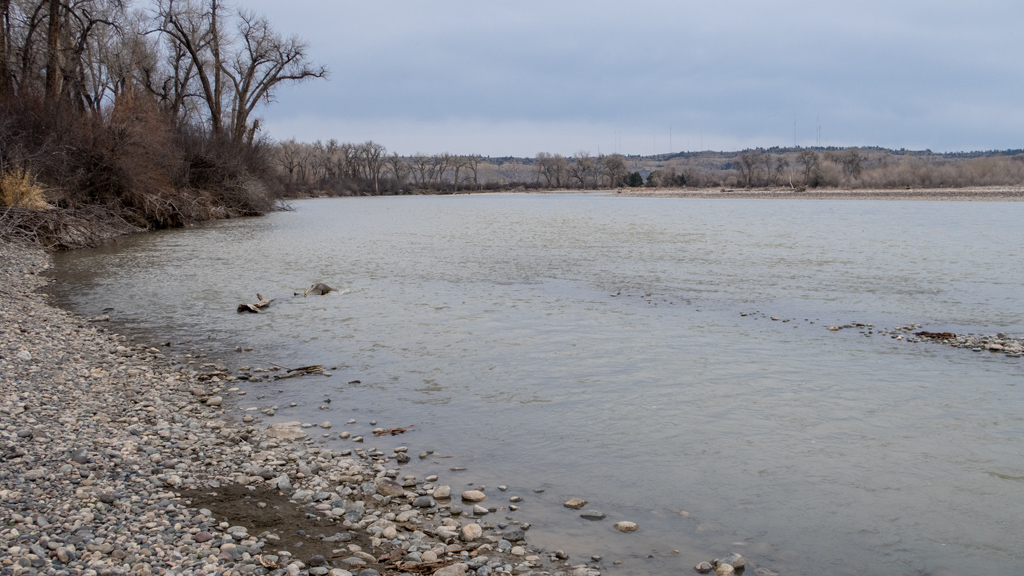
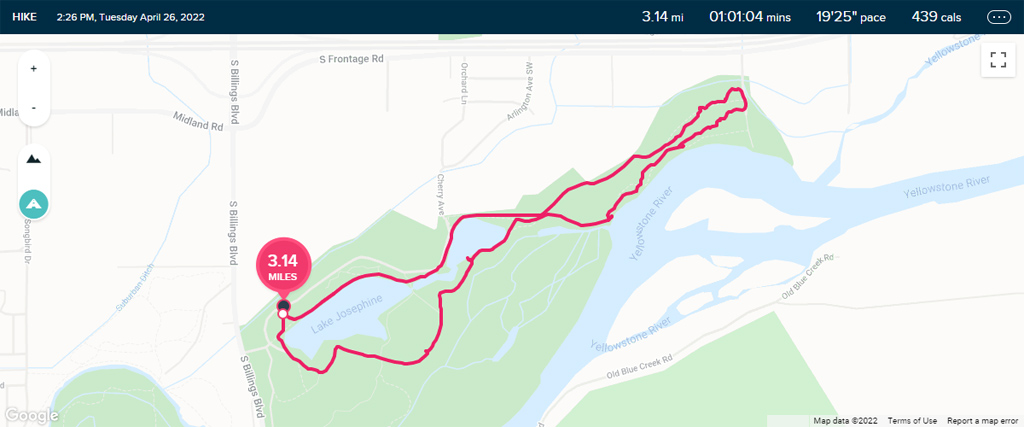
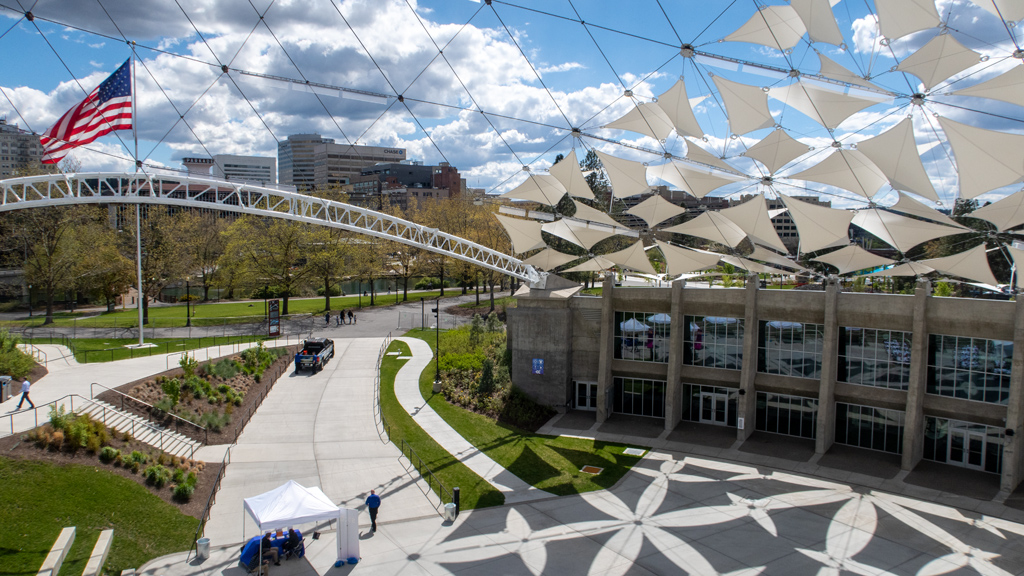
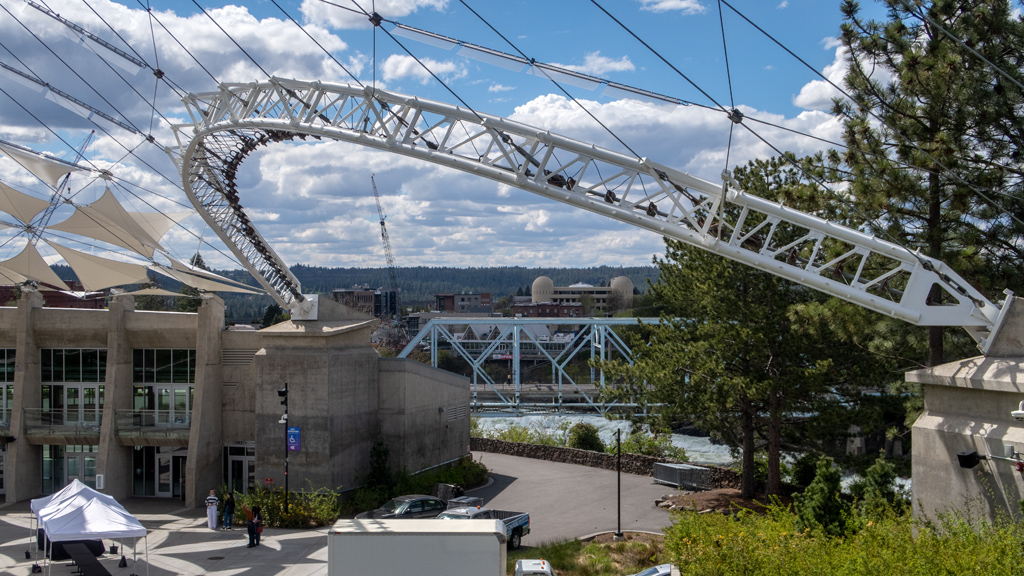
Seeing as my hotel was in a perfect location and overlooked Centennial Trail, I decided to take a walk alongside the river and into Riverfront Park. My first “stop” was at the Spokane Pavilion, which seemed to have some sort of small business event going on, but was still open to the public so I could climb up some stairs and get some shots of the nice architecture of the outdoors area.
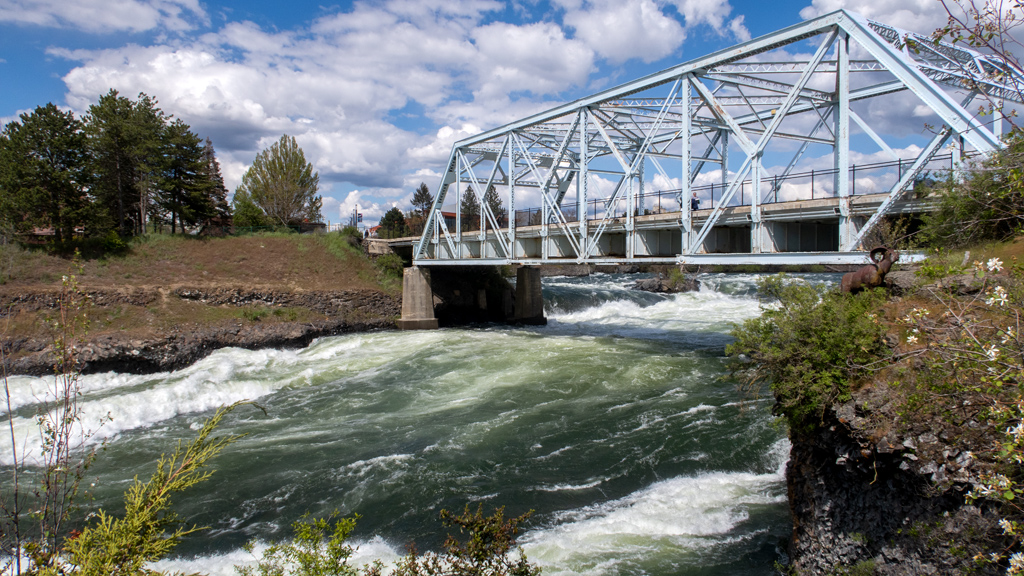
I retraced my steps and continued southbound, connecting onto North Howard Street. I crossed the wide bridge and pedestrian walkway, leading me to the Rotary Fountain near the Spokane Visitors Information Center.

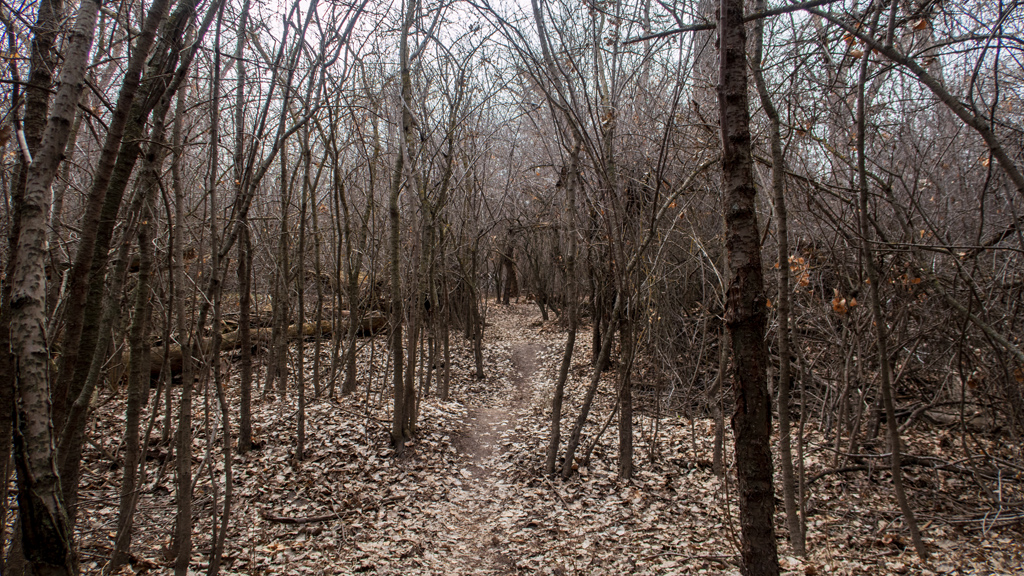
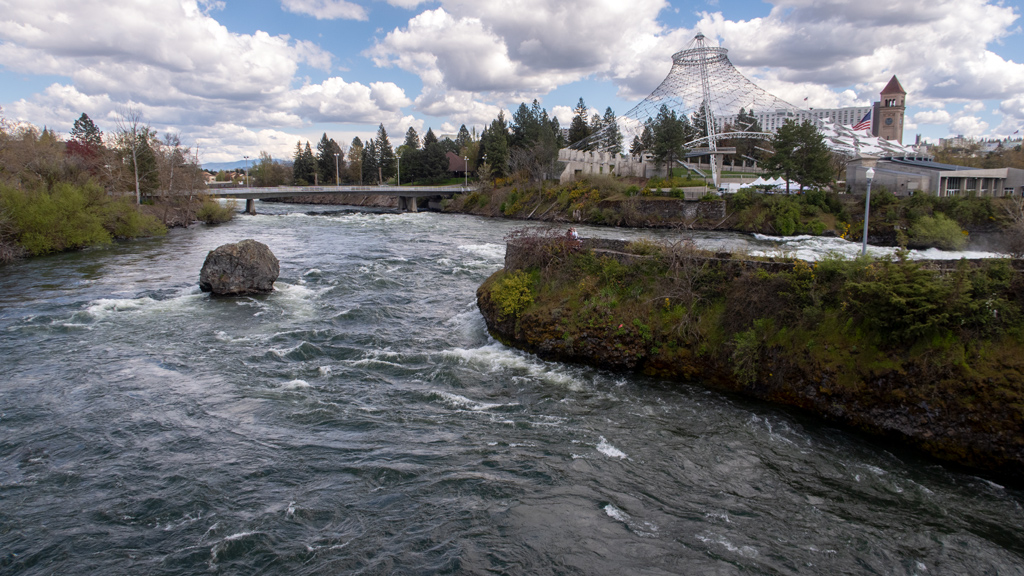
I reconnected back onto Centennial Trail, then transferred over to Park Trail and Theme Stream Trail to head back closer to the river. A portion of this area was closed due to construction, but the Howard Street Middle Channel Bridge was open, which let me get onto Canada Island and get a nice view of the Upper Spokane Falls.

I’ve been to Niagara Falls at some point when I was an infant, so I obviously don’t remember it first-hand. I’ve also seen a few waterfalls during my road trip in the past year, though none of them were very big, and one of them was frozen.
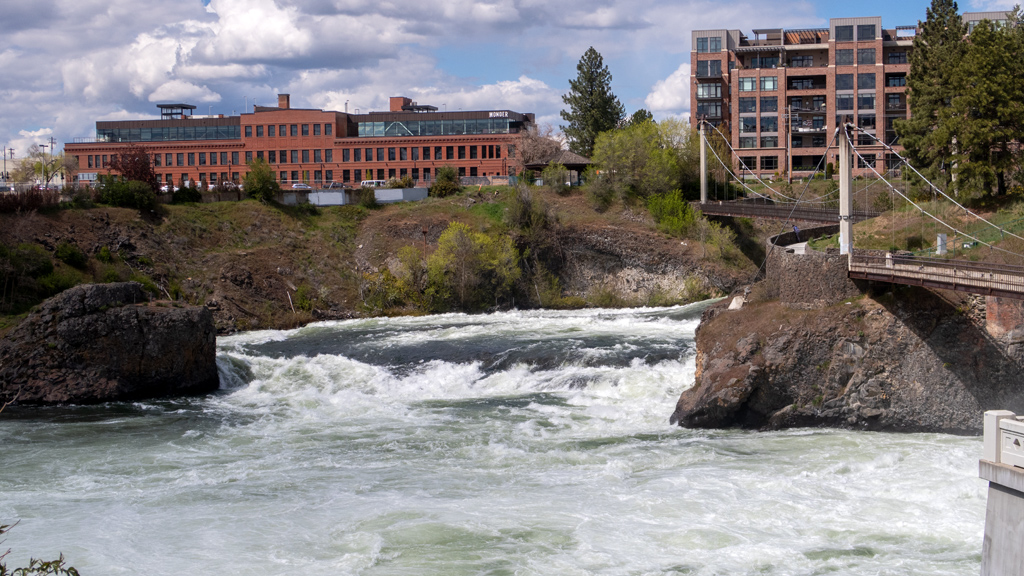
I think Spokane Falls is the first waterfall of this volume that I remember seeing, and it is absolutely treacherous. The crashing water colliding with itself and the surrounding rocks, and the speed at which the foam atop the water forms, flows, and dissipates, is unlike anything else I’ve experienced. The waterfall created enough mist that I could feel the wetness from the pedestrian bridge, and it was a bit surreal being only a handful of feet atop a force of nature that could sweep me up and kill me within seconds.
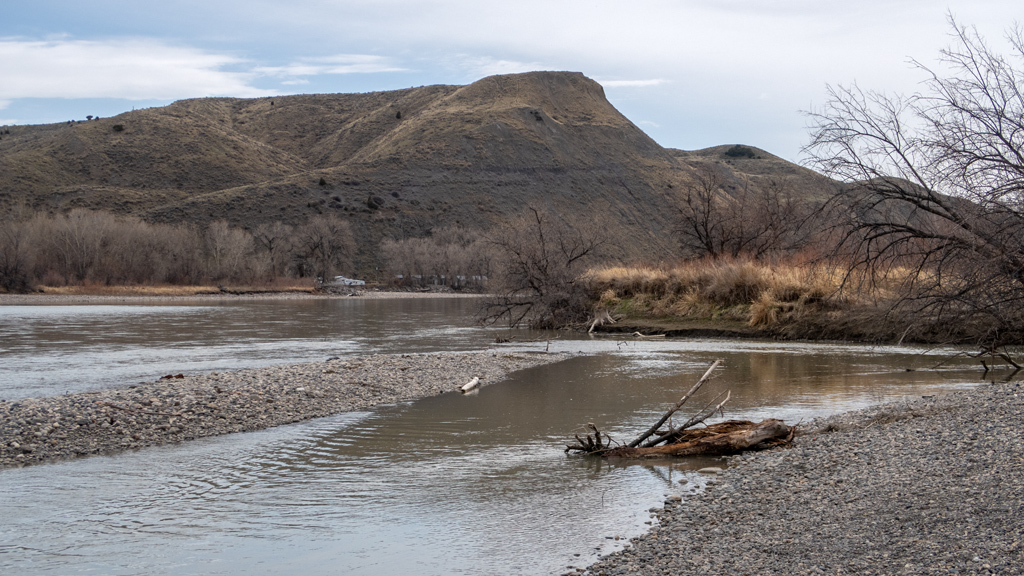
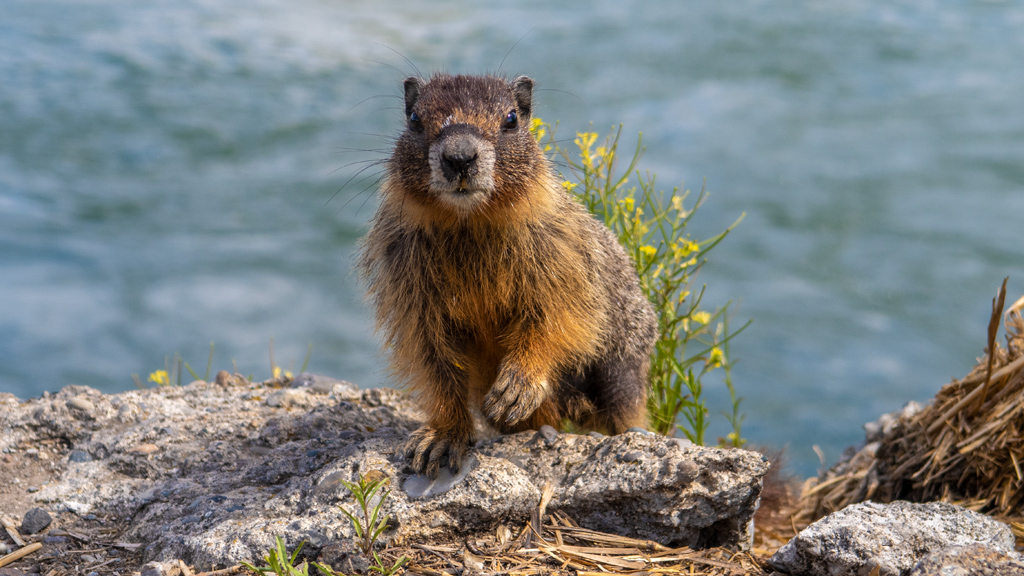
After taking in the view for a little while, I continued northbound towards North Bank Park and started my loop back to my hotel, this time following the northern side of the Spokane River. I passed the Upper Falls Reservoir and continued east past Gonzaga University, where I ran into some marmots.
Just before reaching the intersection at East Spokane Falls Boulevard, I reconnected onto Centennial Trail and crossed the bridge towards Washington State University Spokane.

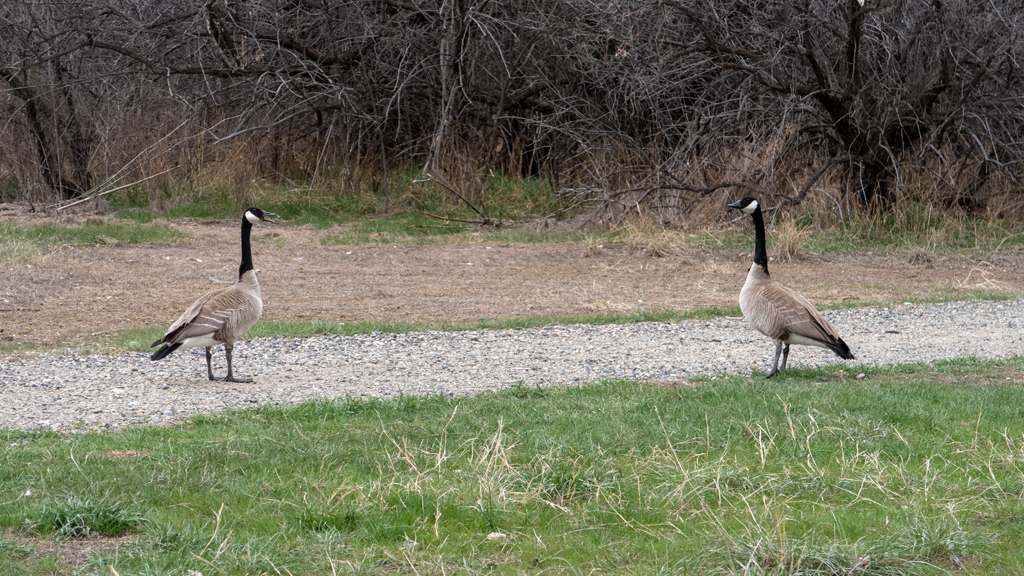
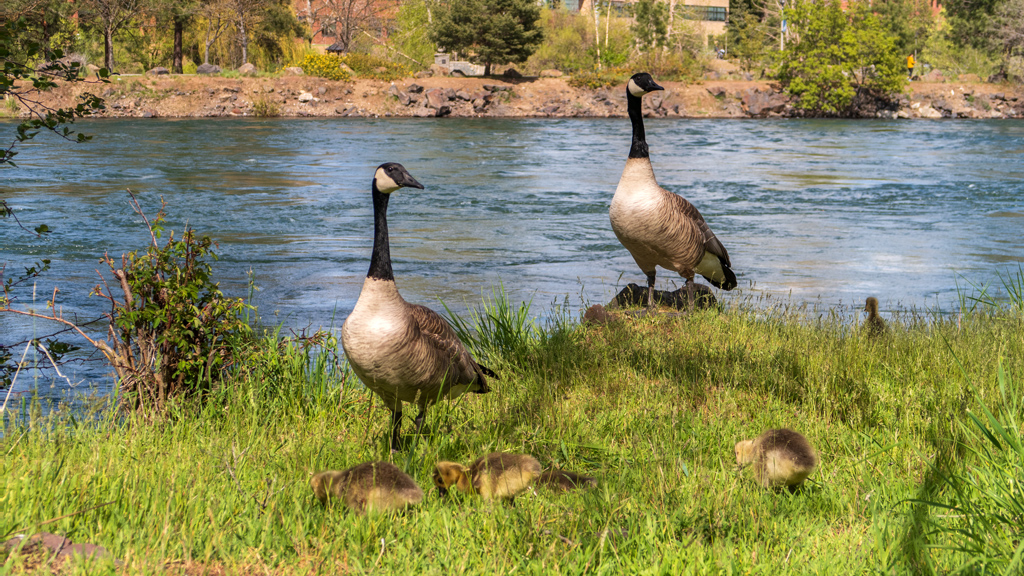
As I got closer to returning to my hotel, I saw some people huddled around a clearing of grass across from the Community Colleges of Spokane. I saw that they were looking at some geese, but upon closer inspection, I found what they were really interested in—the geese were standing guard over their babies. I’m pretty sure this is the first time I had ever seen baby geese, so of course, I snapped some photos.
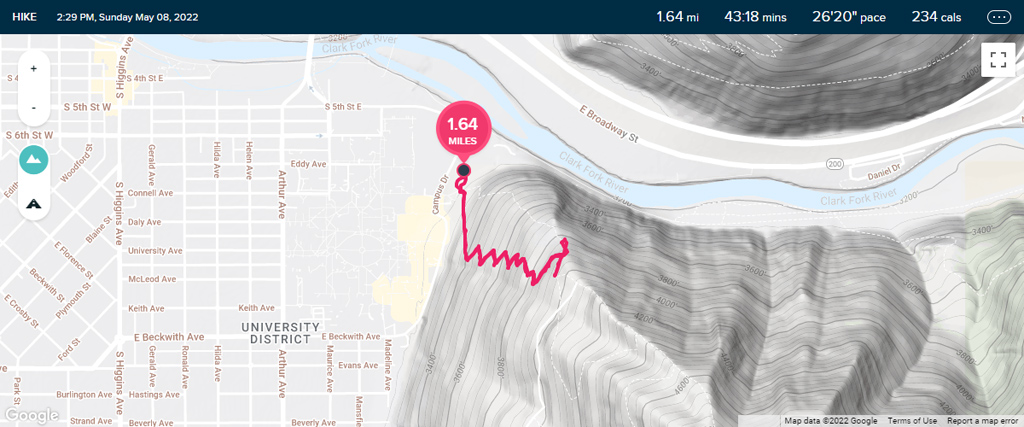
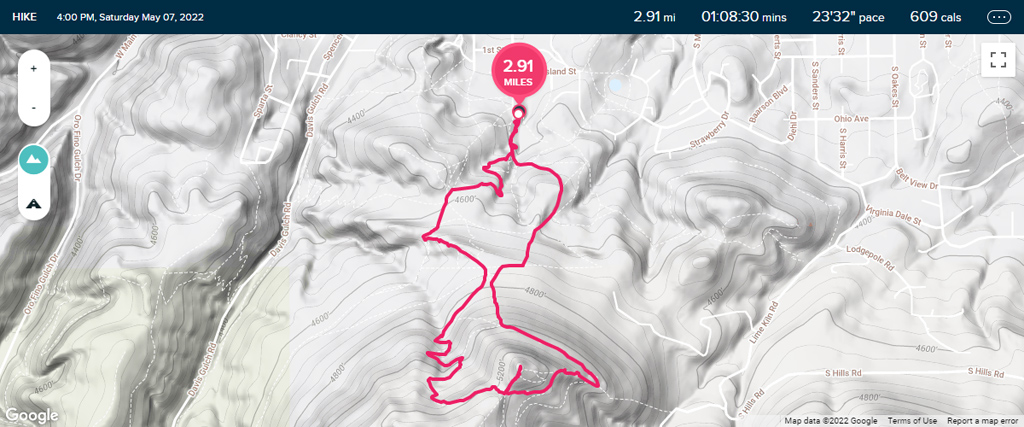
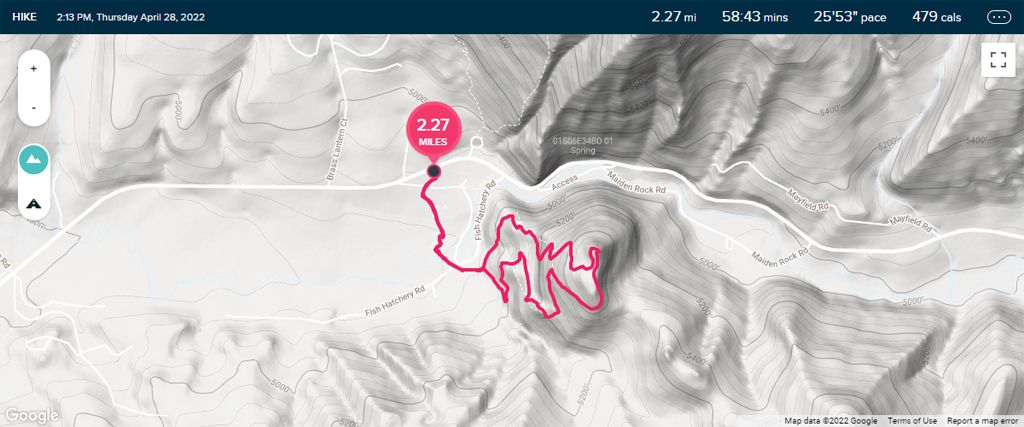
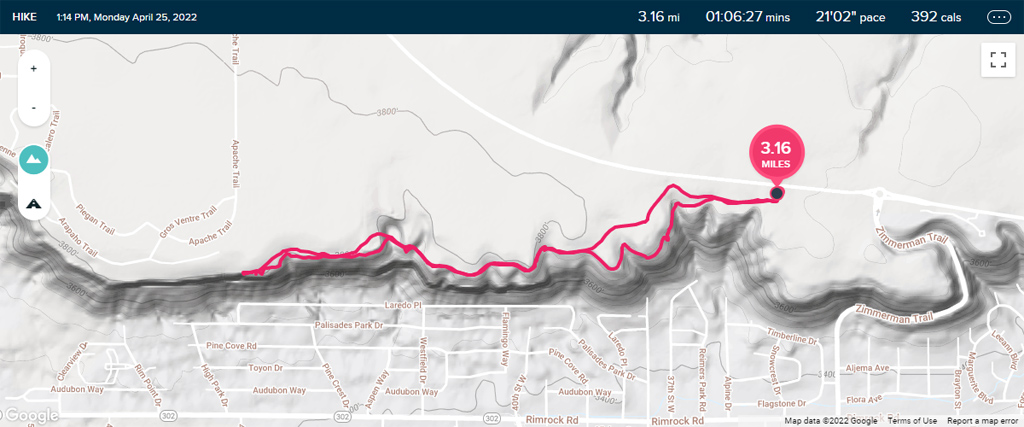
Overall, my walk was 3.2 miles (5.15 kilometers) with negligible elevation gain.
After having such an amazing experience throughout Montana, I thought everything else would be underwhelming in comparison, but even with Montana still fresh in my mind, Spokane was a very pleasant experience. I have plans to continue my road trip by going through Canada, but I haven’t finalized my return path yet; needless to say, I’m thinking of a way to route my return path back through Spokane again, as I’m looking forward to exploring the city some more.