


This post is over 7 years old and may contain information that is incorrect, outdated, or no longer relevant.
My views and opinions can change, and those that are expressed in this post may not necessarily reflect the ones I hold today.
This post is over 7 years old and may contain information that is incorrect, outdated, or no longer relevant.
My views and opinions can change, and those that are expressed in this post may not necessarily reflect the ones I hold today.
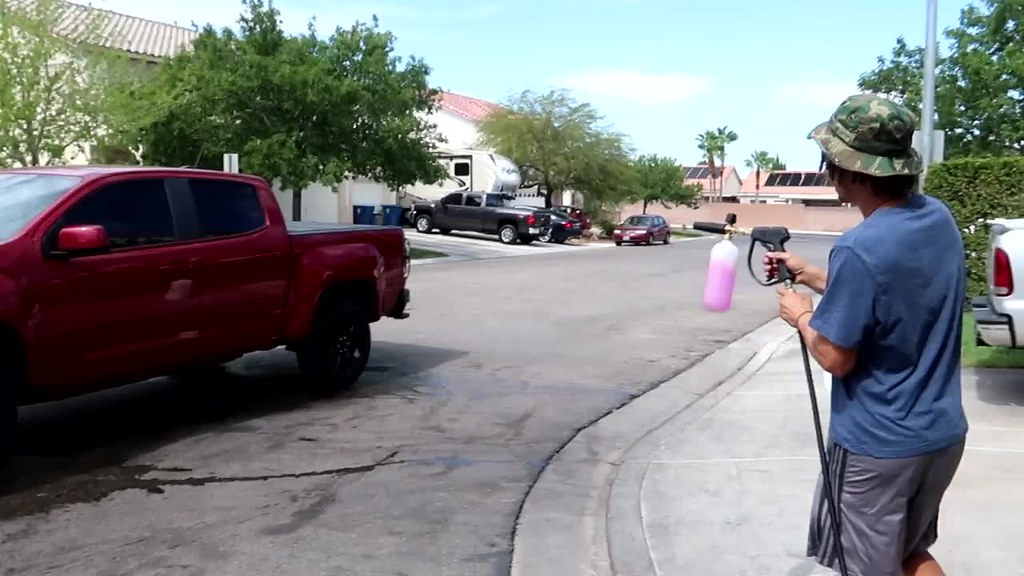 The detailing session was finished up with some tire polish and interior cleaning:
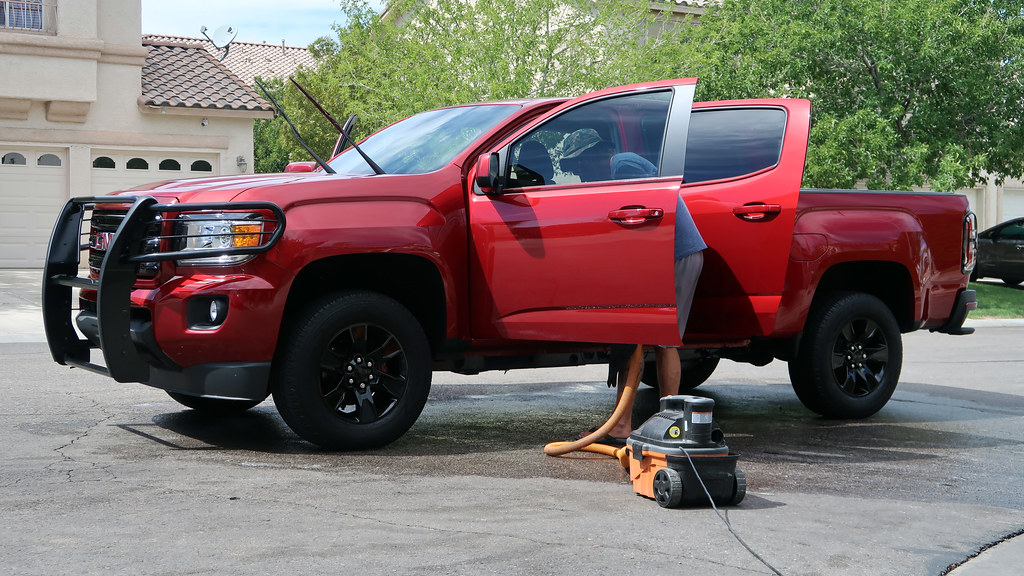
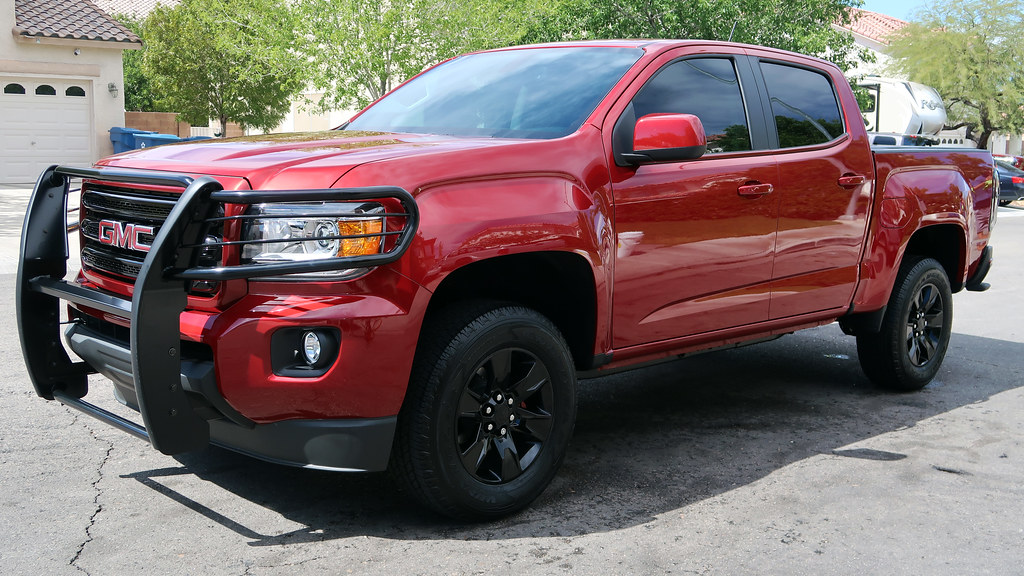 It’s obviously far more cost-effective to get my own little portable vacuum and a stack of microfiber rags to do the interior cleaning portion of this myself (which I will definitely be doing from now on), but seeing as this was my truck’s first bath, I decided to spoil it a little bit.
 This post is over 8 years old and may contain information that is incorrect, outdated, or no longer relevant.
My views and opinions can change, and those that are expressed in this post may not necessarily reflect the ones I hold today.
This post is over 8 years old and may contain information that is incorrect, outdated, or no longer relevant.
My views and opinions can change, and those that are expressed in this post may not necessarily reflect the ones I hold today.





This post is over 8 years old and may contain information that is incorrect, outdated, or no longer relevant.
My views and opinions can change, and those that are expressed in this post may not necessarily reflect the ones I hold today.
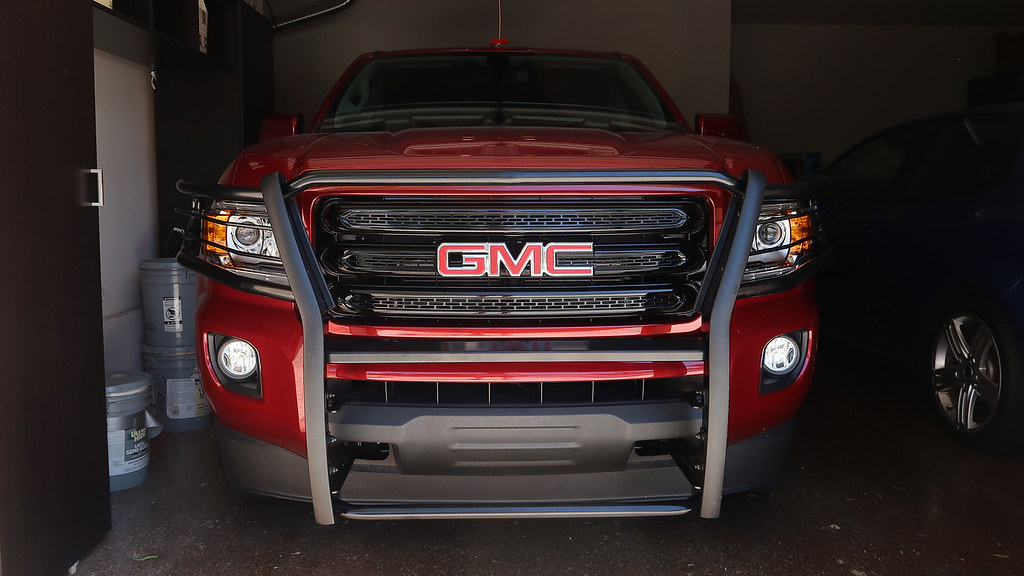
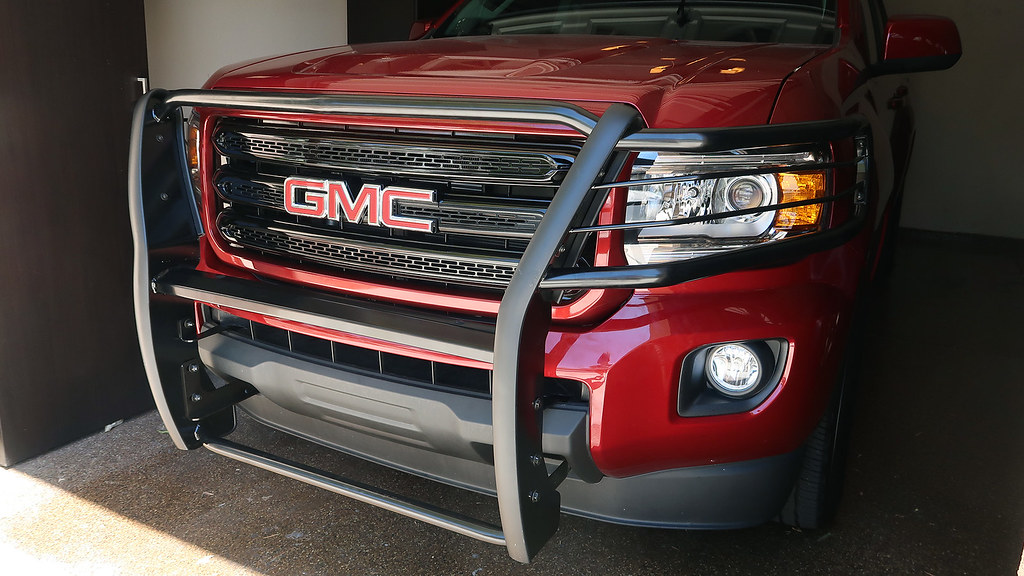 From those angles, it’s a little bit difficult to tell that this grille guard was the “wrong part” for the GMC Canyon, apart from the fact that the upper vertical half of the grille guard slants outwards (though that could potentially just be interpreted as an intentional design choice). However, when looking directly from the side, the misalignment with the headlights is substantially more obvious:
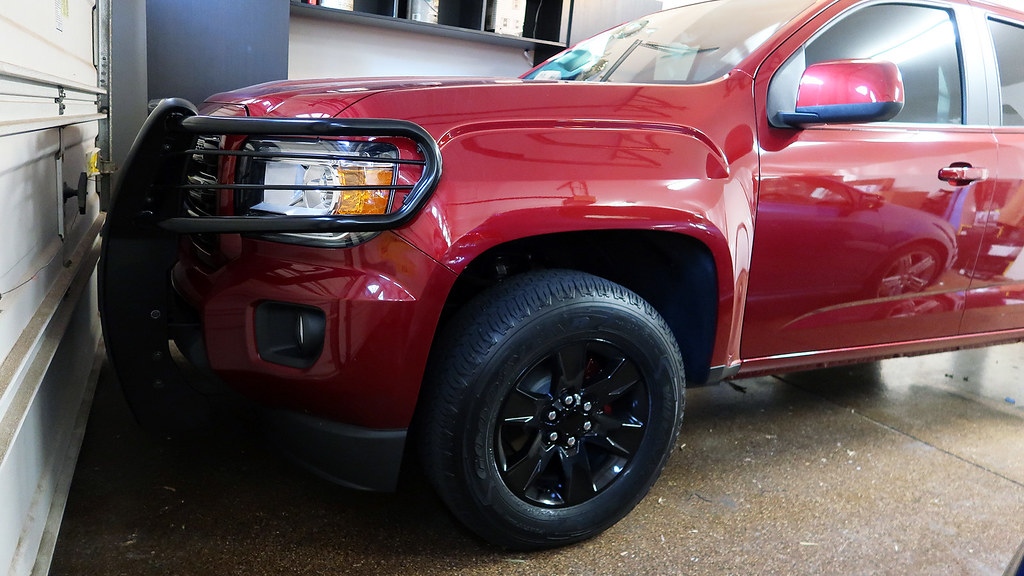 This discrepancy happens because the Dee Zee DZ502775 grille guard I purchased, even though it’s marked as compatible with both the Chevrolet Colorado and GMC Canyon, is actually only molded to fit the Chevrolet Colorado. If you’re familiar with the Chevy version of the truck, you know that the sides of the front grille slant outwards, and the headlights are narrow and taper off towards the end.
I’m not too disappointed about this because the grille guard still serves its purpose, even though it’s not a perfectly-styled fit. It’s still going to protect the front of my vehicle from low-speed hits by transferring the force of the impact to the frame of the vehicle, and it’s still going to prevent the front crumple zone of my vehicle from taking any damage in a situation where I may need to push something out of the way.
But, if you’re familiar with how detail-oriented I am, you may be wondering how I let this “mistake” slip through. The answer here is… that I didn’t.
The reason I went with this grille guard originally designed for the Chevrolet Colorado is because there actually weren’t really any other options of the “brush guard” variant available for the GMC Canyon. There were other listings that claimed that the grille guard was intended for the GMC Canyon, but when looking at the specific part number, it was clear that the angled design was so it would fit the Chevy counterpart, and it was just cross-listed with the GMC Canyon by default. All other grille guards that were available were either steel front bumpers or bull bars, neither of which I was interested in getting.
As a small word of warning, the guy who installed my grille guard on for me let me know that he had to do a bit of extra cutting beyond what appeared to be needed for a “normal” installation, and he had to dig through his screw and bolt collection to find some that ended up fitting better with the GMC Canyon, but as you can see from the photos above, he was ultimately able to figure it out and attach it securely to the frame of my truck.
This discrepancy happens because the Dee Zee DZ502775 grille guard I purchased, even though it’s marked as compatible with both the Chevrolet Colorado and GMC Canyon, is actually only molded to fit the Chevrolet Colorado. If you’re familiar with the Chevy version of the truck, you know that the sides of the front grille slant outwards, and the headlights are narrow and taper off towards the end.
I’m not too disappointed about this because the grille guard still serves its purpose, even though it’s not a perfectly-styled fit. It’s still going to protect the front of my vehicle from low-speed hits by transferring the force of the impact to the frame of the vehicle, and it’s still going to prevent the front crumple zone of my vehicle from taking any damage in a situation where I may need to push something out of the way.
But, if you’re familiar with how detail-oriented I am, you may be wondering how I let this “mistake” slip through. The answer here is… that I didn’t.
The reason I went with this grille guard originally designed for the Chevrolet Colorado is because there actually weren’t really any other options of the “brush guard” variant available for the GMC Canyon. There were other listings that claimed that the grille guard was intended for the GMC Canyon, but when looking at the specific part number, it was clear that the angled design was so it would fit the Chevy counterpart, and it was just cross-listed with the GMC Canyon by default. All other grille guards that were available were either steel front bumpers or bull bars, neither of which I was interested in getting.
As a small word of warning, the guy who installed my grille guard on for me let me know that he had to do a bit of extra cutting beyond what appeared to be needed for a “normal” installation, and he had to dig through his screw and bolt collection to find some that ended up fitting better with the GMC Canyon, but as you can see from the photos above, he was ultimately able to figure it out and attach it securely to the frame of my truck. This post is over 8 years old and may contain information that is incorrect, outdated, or no longer relevant.
My views and opinions can change, and those that are expressed in this post may not necessarily reflect the ones I hold today.
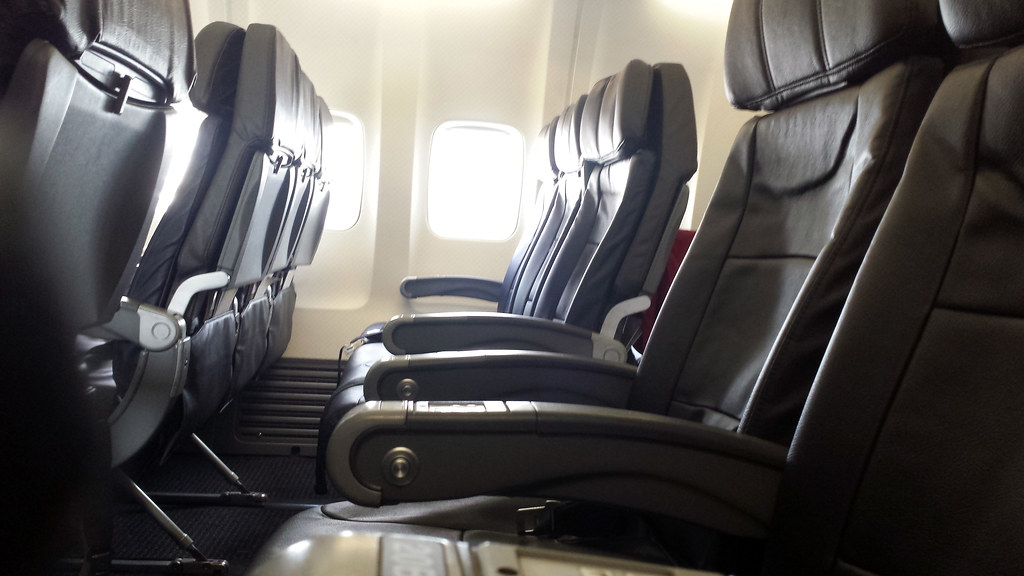 I was already pretty ecstatic that I was on my flight back home to Las Vegas after visiting Illinois, but this made the already-great experience even better. Being an extreme introvert, I don’t really like being around people, so the fact that literally nobody was around me for the entire flight made it a whole lot more comfortable.
